Support
Do you have a manual for MidiShaper?
Yes, we do. Download our in-depth MidiShaper PDF manual for full usage instructions and an in-depth guide to all features and functions.
How do I route MIDI to external hardware or software instruments and effects?
MidiShaper works as an effects plugin that outputs MIDI data.
Routing MidiShaper to external MIDI hardware is simple: just select the relevant external MIDI port in the Output dropdown.
Routing MidiShaper to software instruments and effects can be relatively straightforward as in Reaper and Ableton Live, though some DAWs can require more setup, such as Apple Logic Pro. See the DAW guides in the MidiShaper PDF manual for details. Also please note that not all plugins support MIDI control of their parameters.
We recommend that you try the free MidiShaper demo first to see if it works for you and your setup.
Do you have a video tutorial for MidiShaper?
Yes!
Control Your Hardware and Software with MidiShaper:
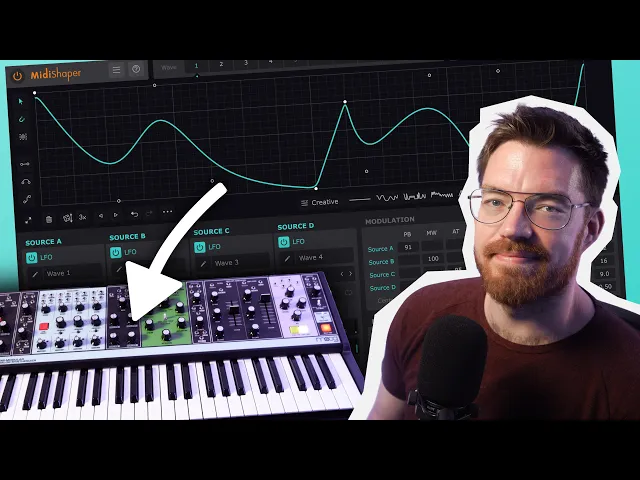
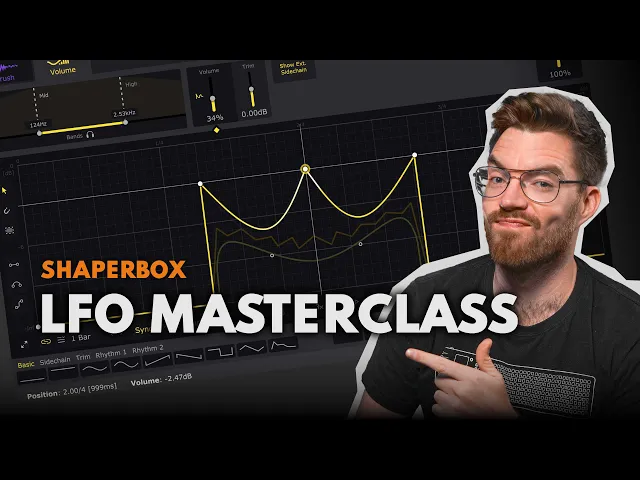
LFO Drawing How-To – shows ShaperBox but is fully applicable to MidiShaper:
Selecting a MIDI port for output brings up this message: "Cannot open this MIDI port. Please choose another MIDI port". What can I do?
We recommend using the VST version of MidiShaper and outputting MIDI directly to your DAW ('Output To DAW'). Only choose one of the given MIDI outs if 'Output To DAW' doesn't work with your DAW, synths or effects. If none of the ports can be opened, it means they must be blocked by your DAW or other software, so please check your DAW's settings.
MidiShaper only sends out MIDI CCs when I raise the waveform above a certain value. Why are the lowest (or highest) waveform values cut?
The formula for calculating the output value is:
Center value + Source 1 value/100 * LFO-value + Source 2 value/100 * LFO value + ..
…with LFO value being between -1.0 and 1.0. Output values are trimmed to be between 0.0 and 1.0.
We recommend setting the Center value in the Modulation area to 0.50, and the multiplier in the Source row to 50. That way, all values produced by MidiShaper are in the range 0.0-1.0 (or 0-127). If you then change the Center value, or increase the Source value, output values might be cut.
Why does it sound like the Update Rate is changing in Cubase, whenever the end of the Arrange page cycle range is reached?
This appears to be a bug in Cubase (as it affects plugins by other vendors in exactly the same way), whereby the Update Rate is changed internally (but not in the visible menu in MidiShaper). It only happens in Sync and Hertz modes, and we're awaiting a fix from Steinberg.
Common plugin issues
All plugins from all vendors that are position-synced are affected by Ableton Live's known timing issues. For a workaround, check our Support article.
For any other issues, please check our Support pages – there's a good chance that the answer is already there.